If you are using the Windows 7 Operating System, Windows Live Mail comes already installed. This mail client can be used to access any email accounts you have set up on your HostGator server.
Note: Make sure to create the email address on your HostGator server before adding it to your Windows Live Mail client.
For additional information on how to create a new email address in cPanel, please refer to the following article:
Setting up Windows Live Mail:
- Open WIndows Live Mail on your local computer.
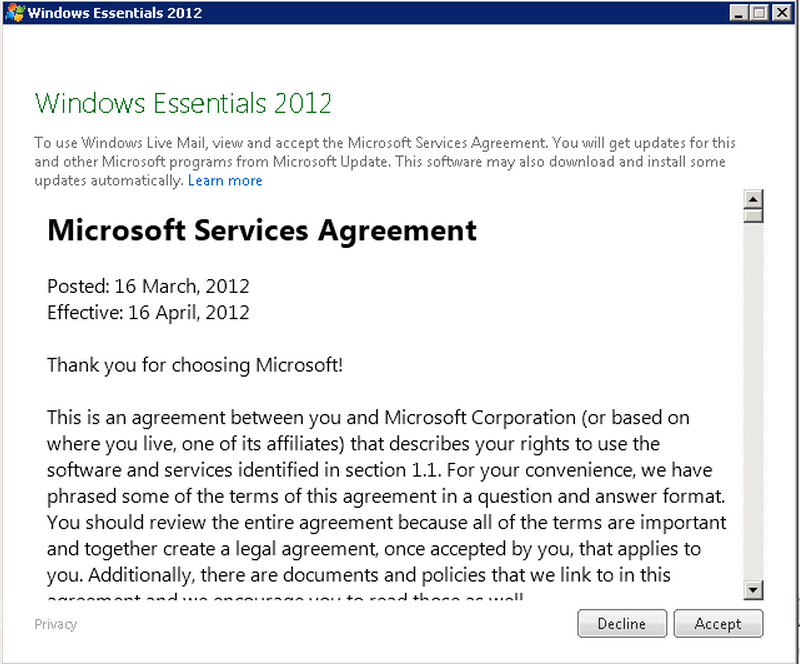
- If Windows Live Mail has not yet been set up on your computer, then you will need to review and accept the license agreement.
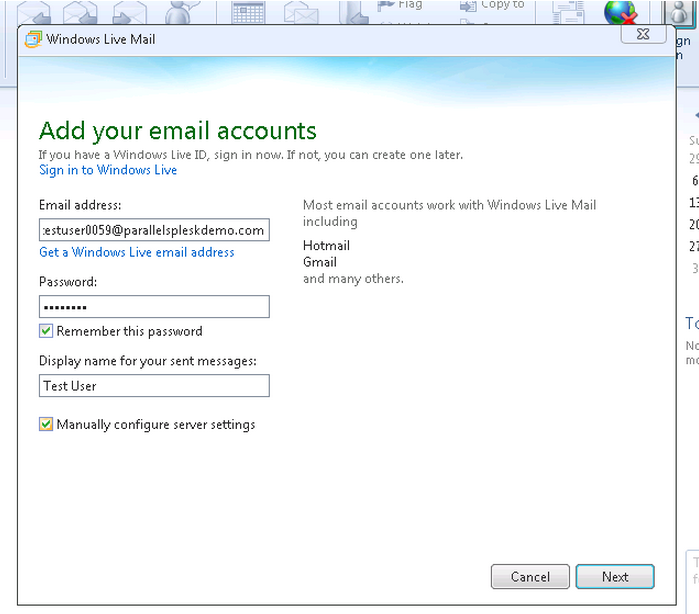
- Enter your email address and your email password. Select the box next to “Manually configure server settings” and select Next.

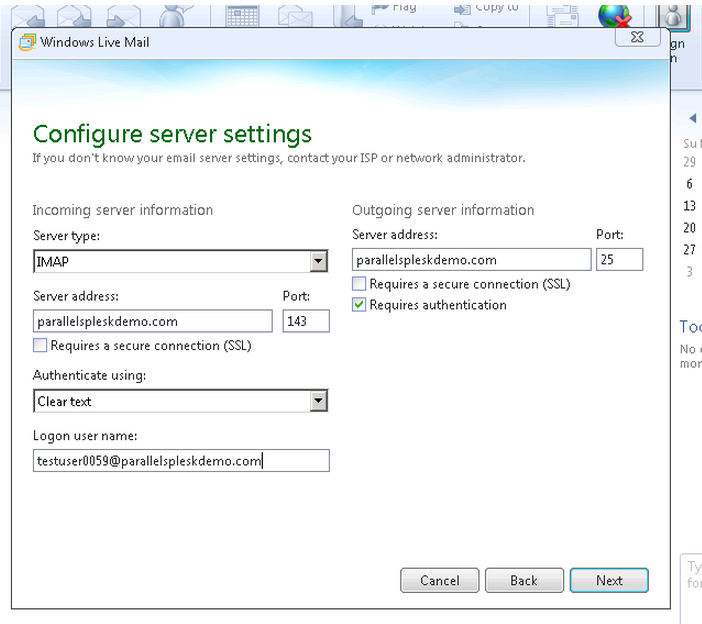
- Select the server type (IMAP or POP3). For more information on the difference between POP and IMAP, please refer to the following article:
- Input your server address. For incoming and outgoing, this should be mail.example.com or your server’s IP address.
- Input your incoming server port number. This value should be 110 for POP3 and 143 for IMAP.
- Input your outgoing server port number. This value should be 25. (Many ISPs block this port, however, so you may need to try the alternate ports 26 or 587.) Please see the following article for additional information regarding common port numbers:
- Select “Clear Text” in the Authenticate using section.
- Enter your full email address in the login user name section.
- Click Next and then click Finished.
Your email is now configured with Windows Live Mail! If you experience issues with configuring Windows Live Mail or if you would like to confirm the settings used, please contactHostGator support via phone or live chat support and we will be happy to assist you.